
Welcome, curious minds, to a celebration of wonder, discovery, and the boundless realm of science! As we embark on this journey of exploration, we’re diving headfirst into the excitement of Science Week. It’s a time when classrooms buzz with the thrill of experiments.
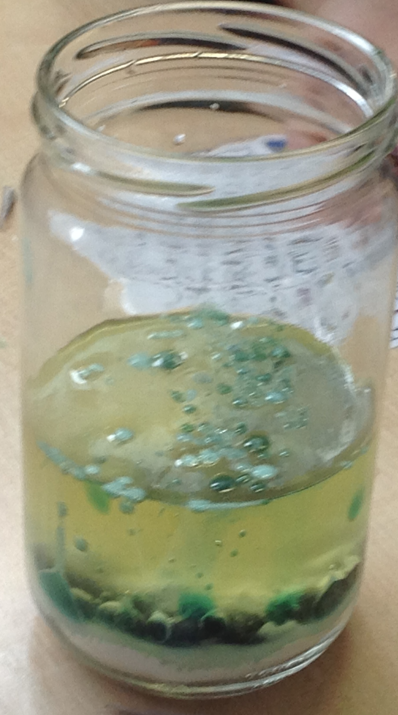
Speaking of experiments, Kapoor Class made glowing lava lamps using the most simple ingredients that you can find in your home!
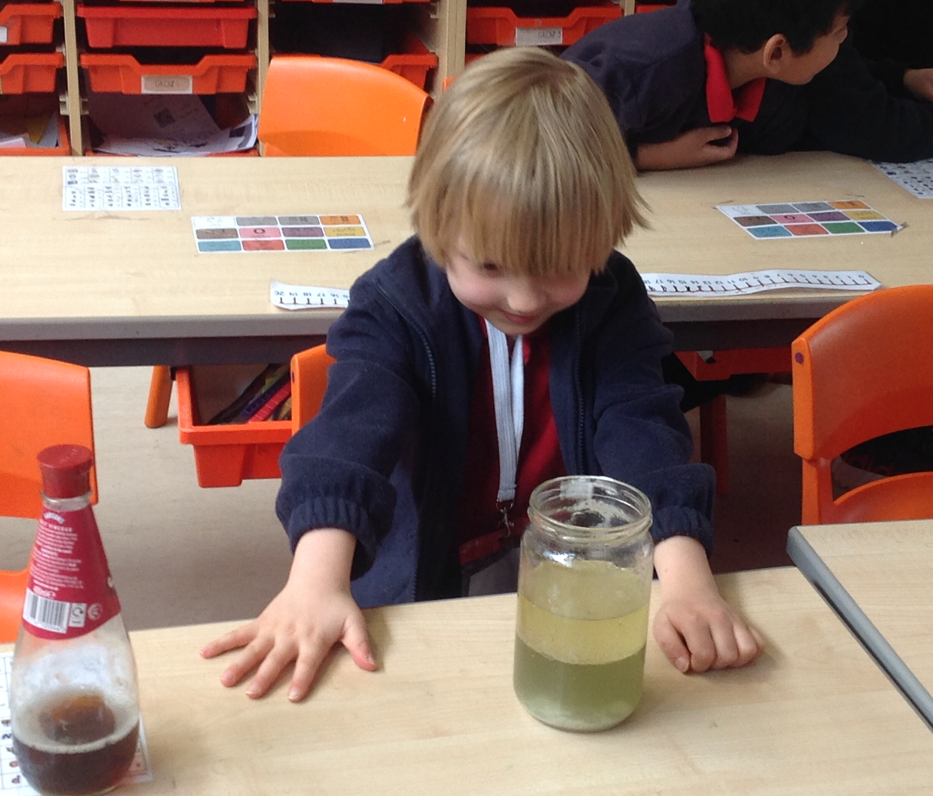
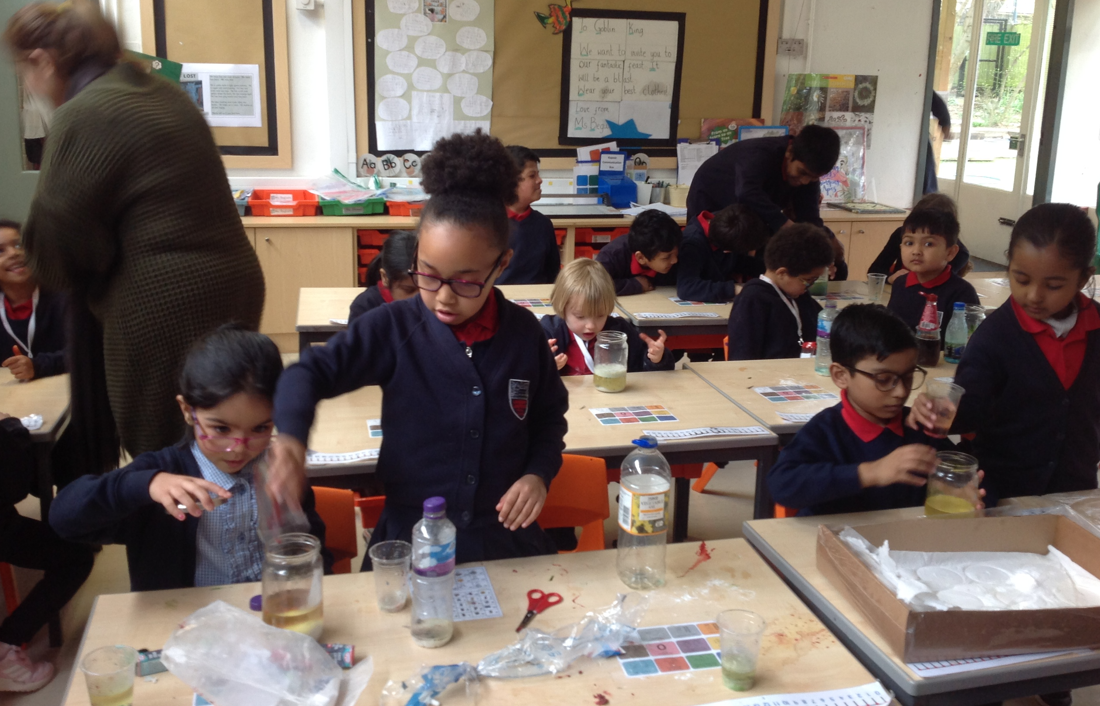
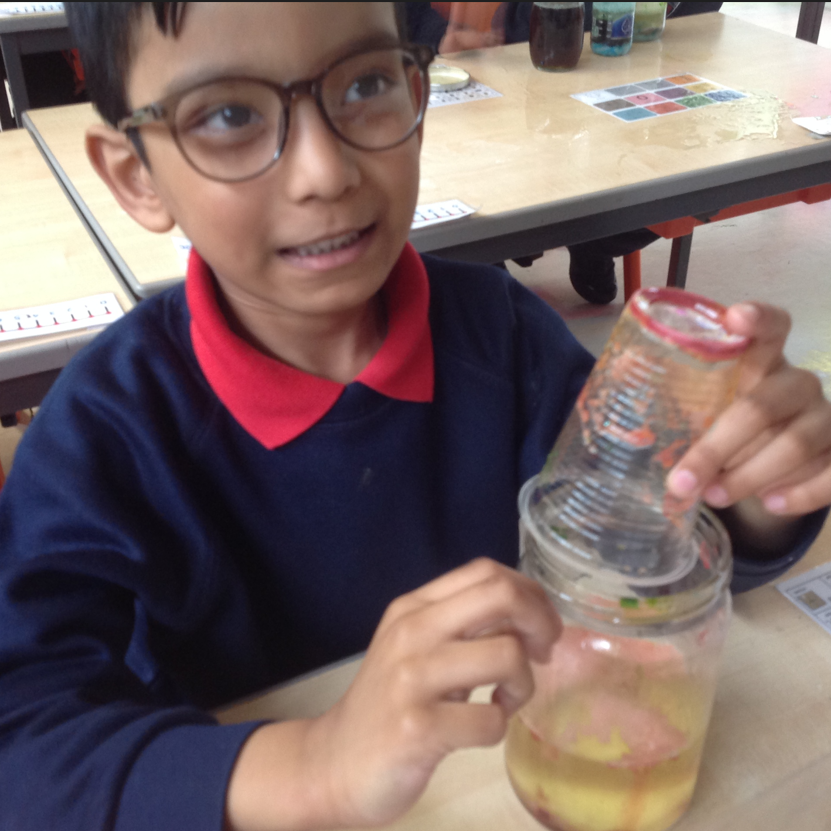
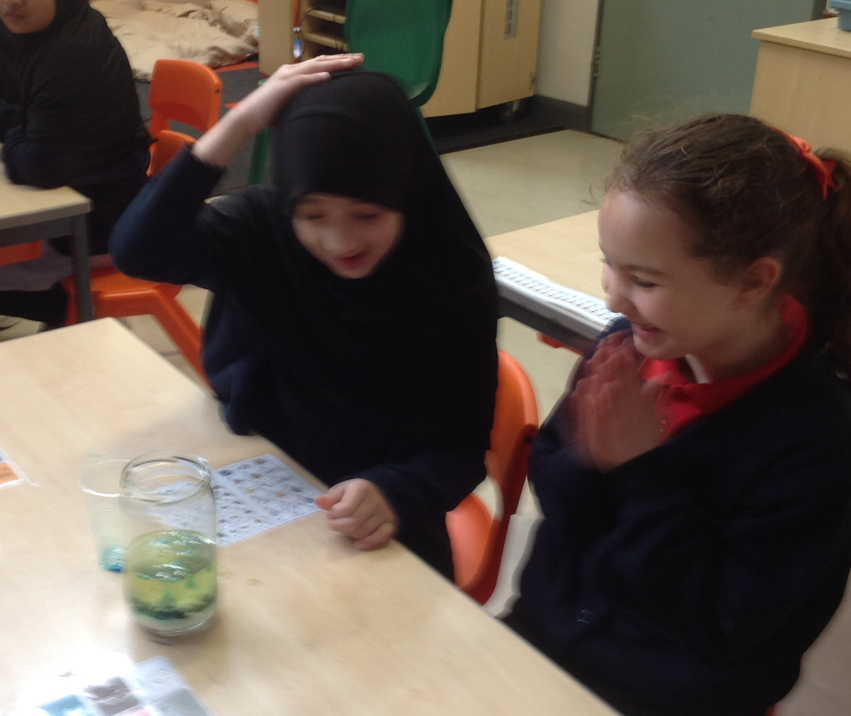
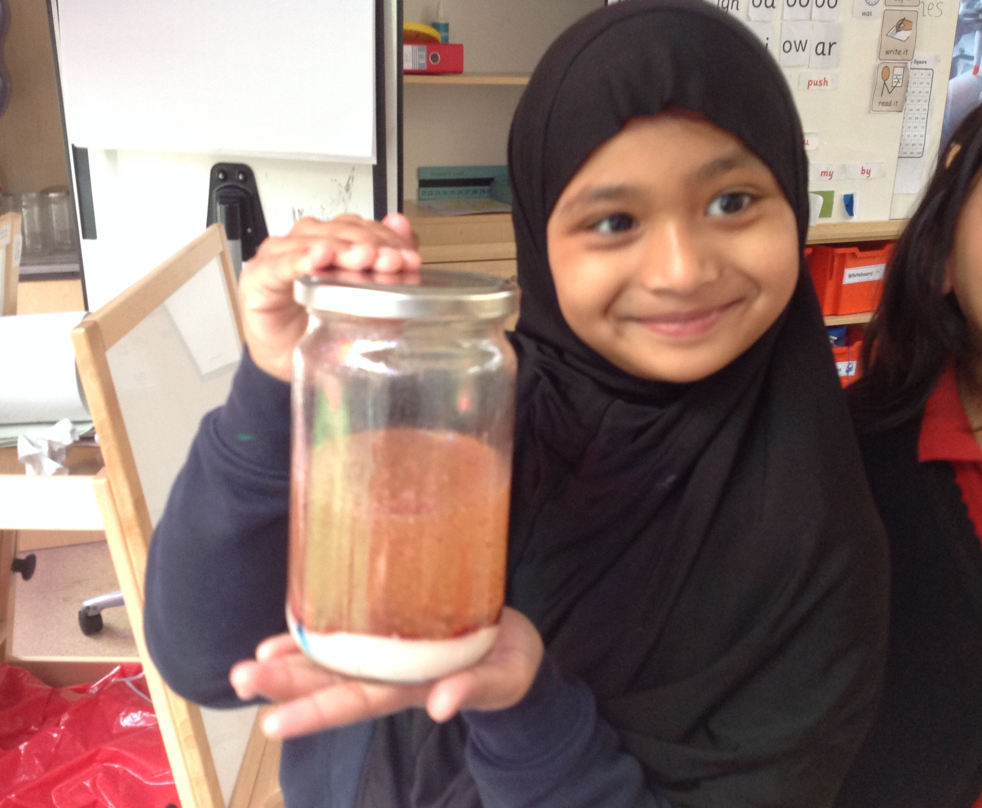
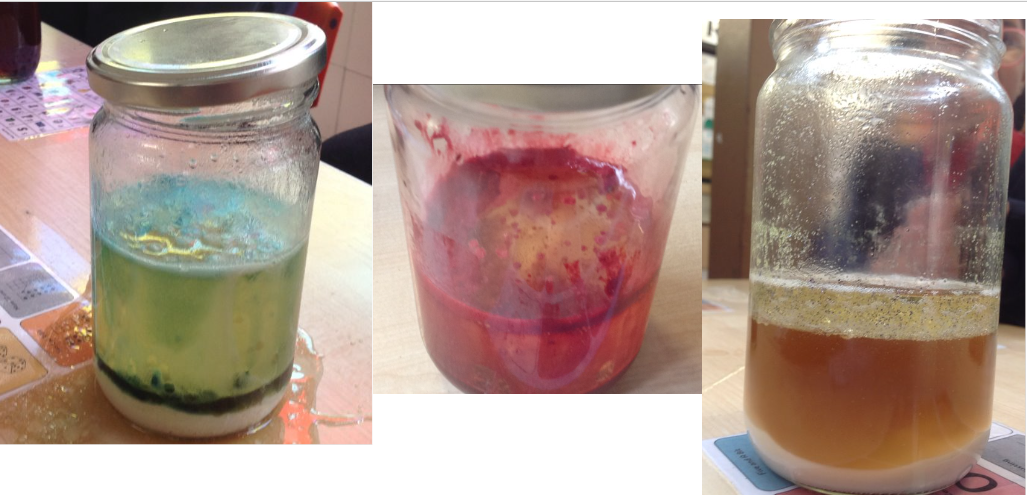
Children had lot’s of fun choosing colours for their lava lamps. Some children were curious and added some water. They noticed that oil and water did not mix. However, it created gorgeous layers of textures ae seen in the pictures.
If you would like to make your very own lava lamp then follow the instructions below!
What You’ll Need:
- Clear plastic bottle (such as a recycled water bottle) or a glass jar
- Water
- Vegetable oil
- Food coloring
- Bicarbonate of Soda (5 tablespoons)
- Small flashlight (optional for added visual effect)
Step-by-Step Guide:
1. Prepare the Bottle/glass jar:
- Start by cleaning and drying your plastic bottle thoroughly.
- Put 5 tablespoons of bicarbonate of soda into the bottle.
- Fill about one-quarter to one-third full with water.
2. Add Vegetable Oil:
- Fill the rest of the bottle with vegetable oil, leaving a small space at the top.
3. Add Food Coloring:
- Choose your desired colours of food colouring and add several drops of each directly into the bottle.
4. Watch the Magic:
- Observe as the food coloring sinks through the oil and mixes with the water at the bottom of the bottle. You’ll notice colorful droplets forming.
5. Add Bicarbonate of Soda:
Now, enjoy watching the chemical reaction take place!