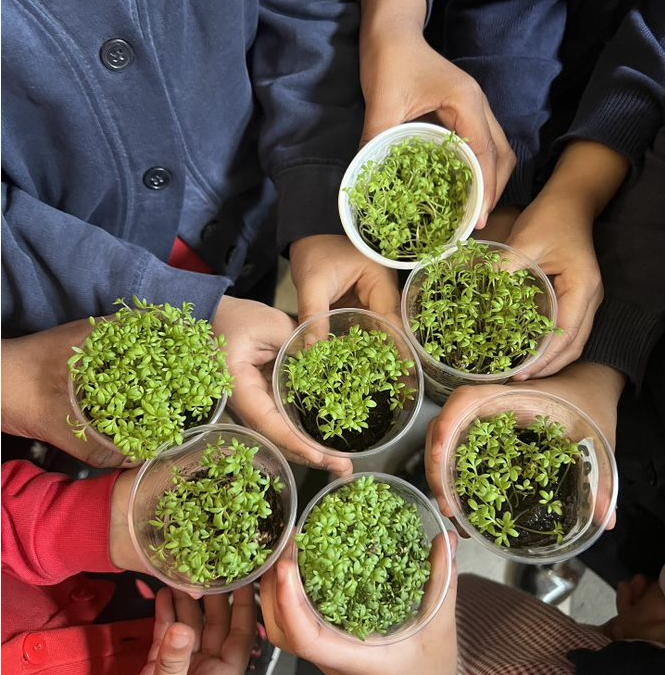
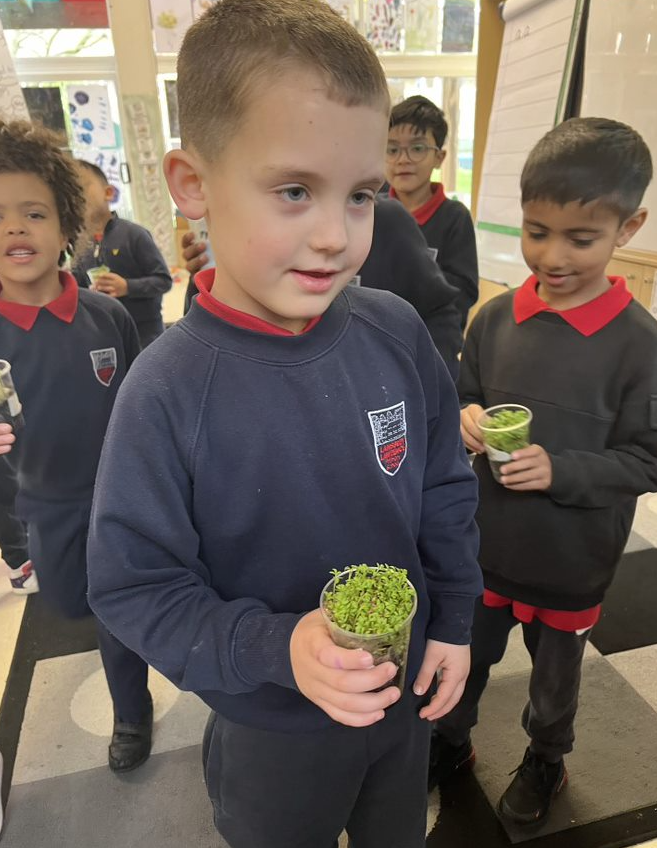
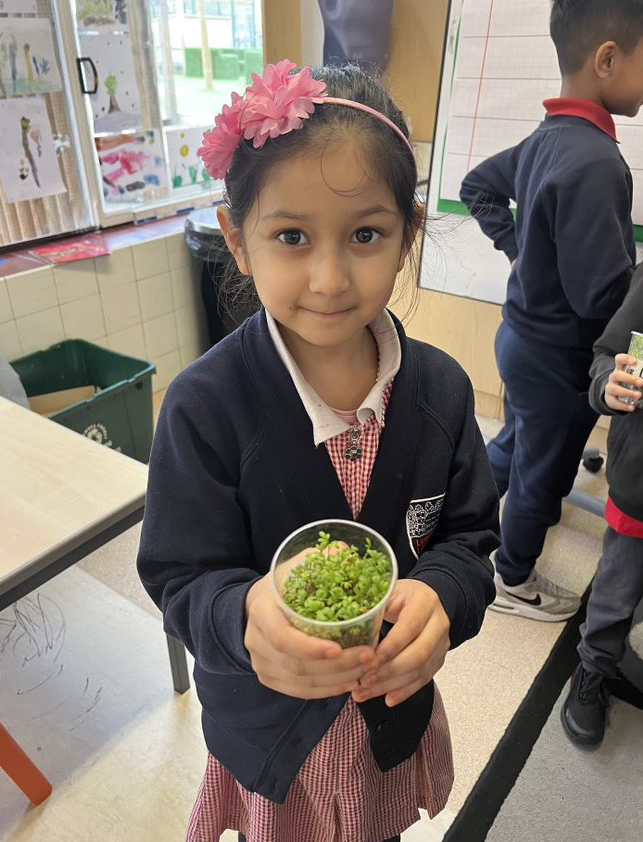
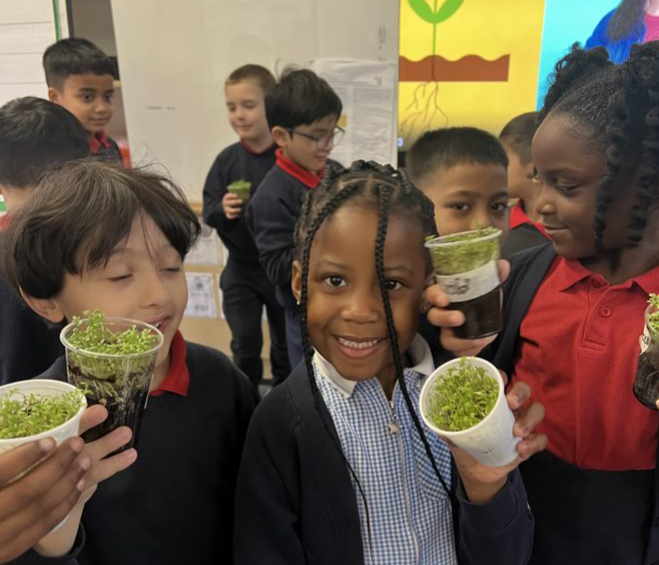
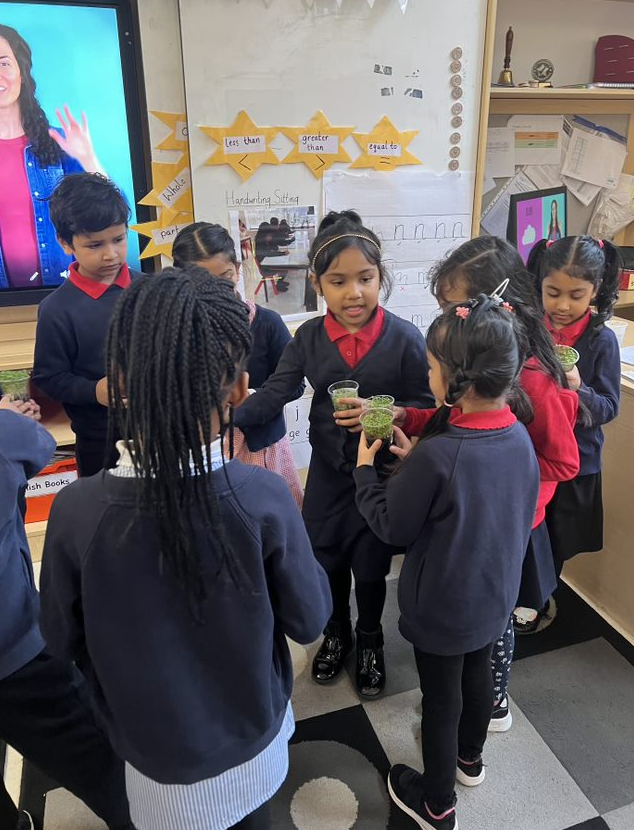
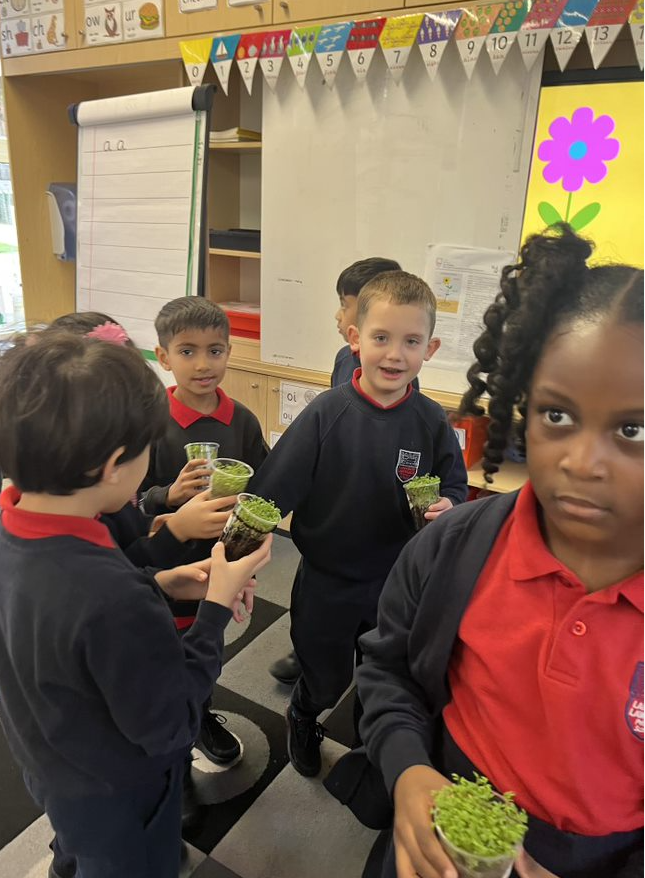
Year 1 planted their own cress and observed it over time. It took exactly one week for the cress to grow tall enough to eat!
First, they wrote instructions to remind themselves of the steps. Then they all planted the seeds together and discussed about the key resources required.
The following resources were needed:
- Cress seeds
- Soil
- Plastic cups
- Name Labels
- Water
Instructions:
- First, carefully put soil into the plastic cup.
- Next, gently sprinkle the seeds onto the soil.
- Then, pour a little bit of water over the seeds.
- Finally, place the pot next to the windows for sunlight and wait for it to grow!


Afterwards, children discussed about the way their cress smelt, looked and felt on their fingertips.
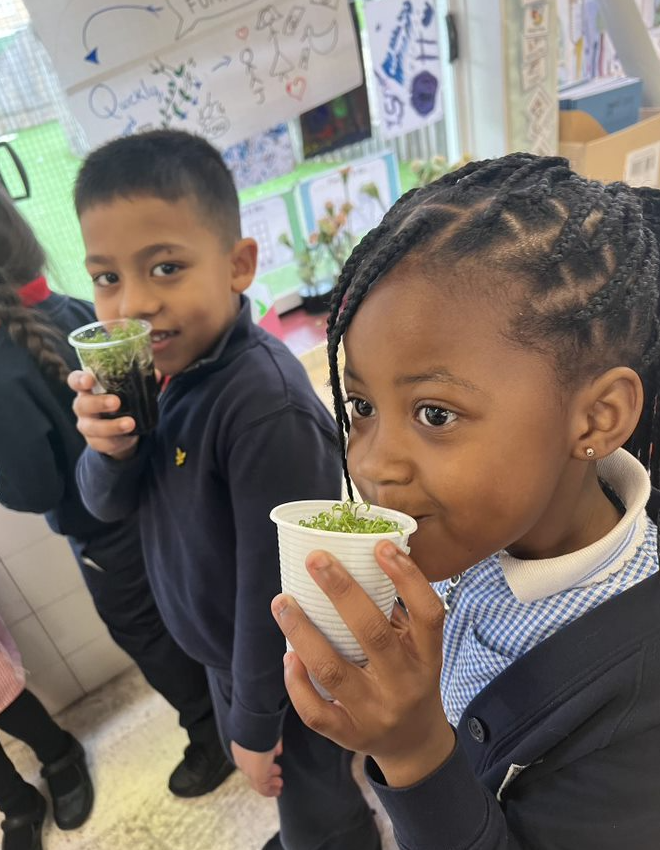
All children were happy and couldn’t wait to eat their cress at home!
Some said they will mix it in their sandwich fillings, while others said they will have it with their salads.
Thank you for reading our blog!
Kapoor